Cryptoucan™ physical tamper protection
Written by Dominik Joe Pantůček on 2018-09-20
cryptoucanThese are really busy times here at Trustica. We are producing the last few units using the single unit casting process but in the meantime we have already placed an order for a small batch to check whether the whole process is sound. In a few weeks we will know for sure. But in the meantime, read on to see what we have done to one unit.
The good thing about developing the casting process is that now there are quite a few units in our lab ready for various testing. As we have already shown, we wanted the design to be durable and ensure that physical tampering with the device is not an easy task. So we went on and tried it ourselves.
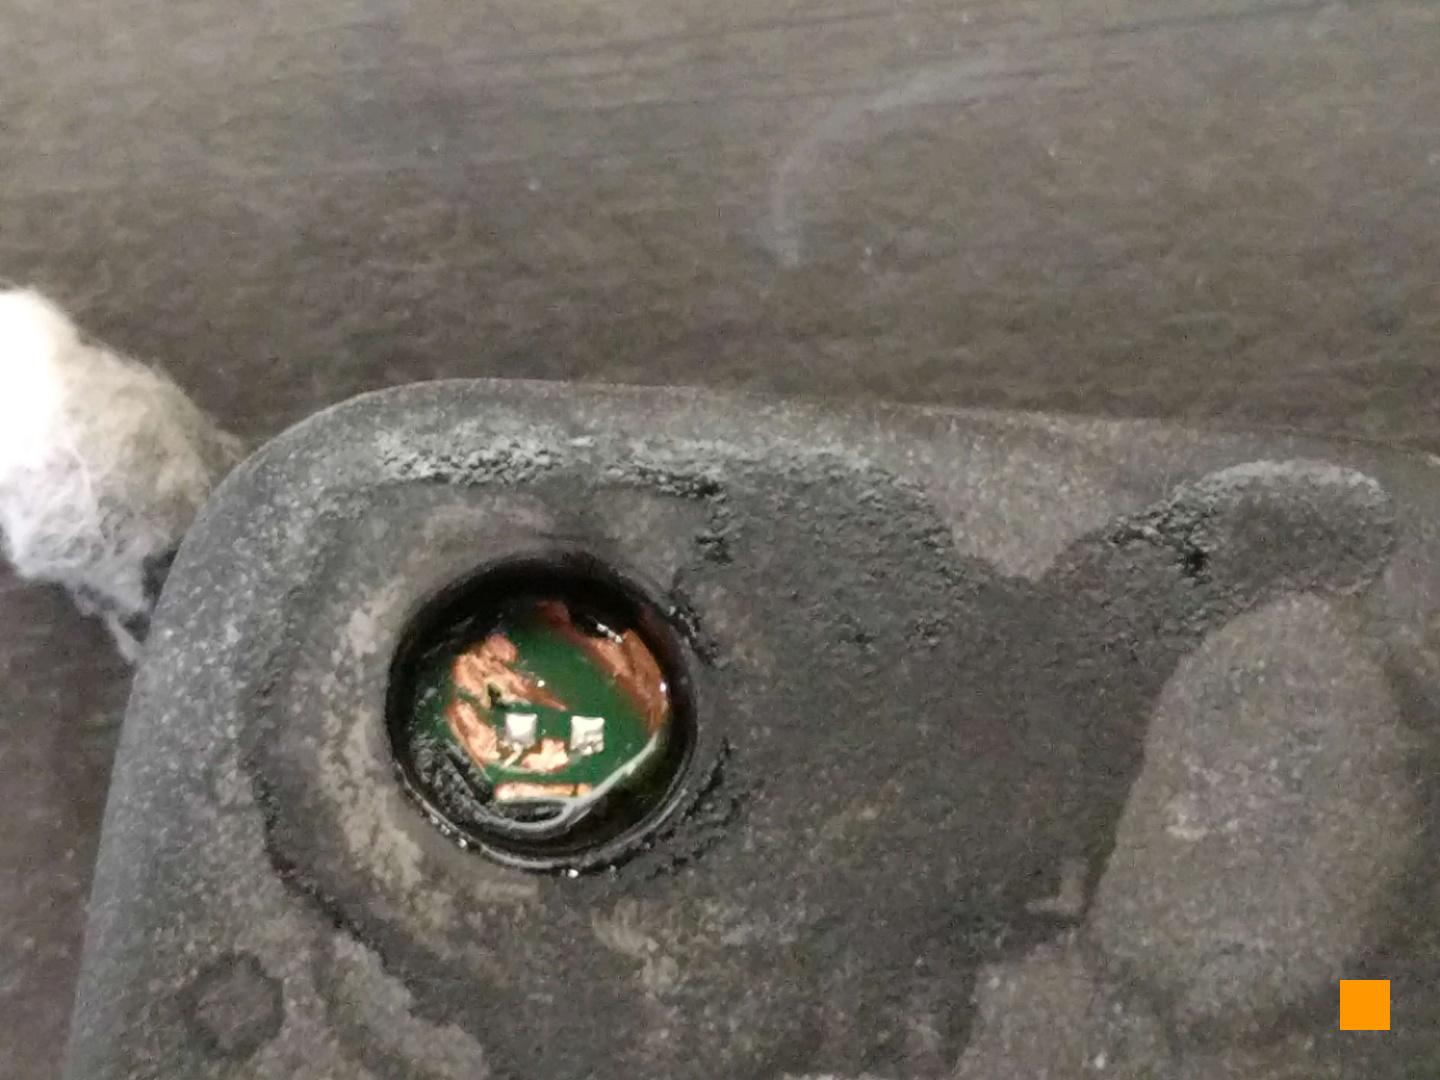
In Picture 1 below, we can see the top part of Cryptoucan™. Although it is not clear in this close-up, this is the part with informational display[1] and if you try hard, you can see the different shapes - number segments, locks and others.

Picture 1: Close-up of upper left corner just after the drilling. As you can see we wanted to drill through the lightguide and surrounding epoxy down to the top left green LED - the one under the locked lock[2].
The expoxy layer is about 2.4mm thick at this point. So it should be fairly easy to drill through, but would it? It should be even easier as the lightguide is made from rather soft material (at least compared to the epoxy we are using). Or so we thought.
To drill through, we used a bench drill where we attached Cryptoucan™ to the drill bed and tried to drill through using a drill bit used for drilling through reinforced concrete. Then we tried to use the one for drilling through steel.

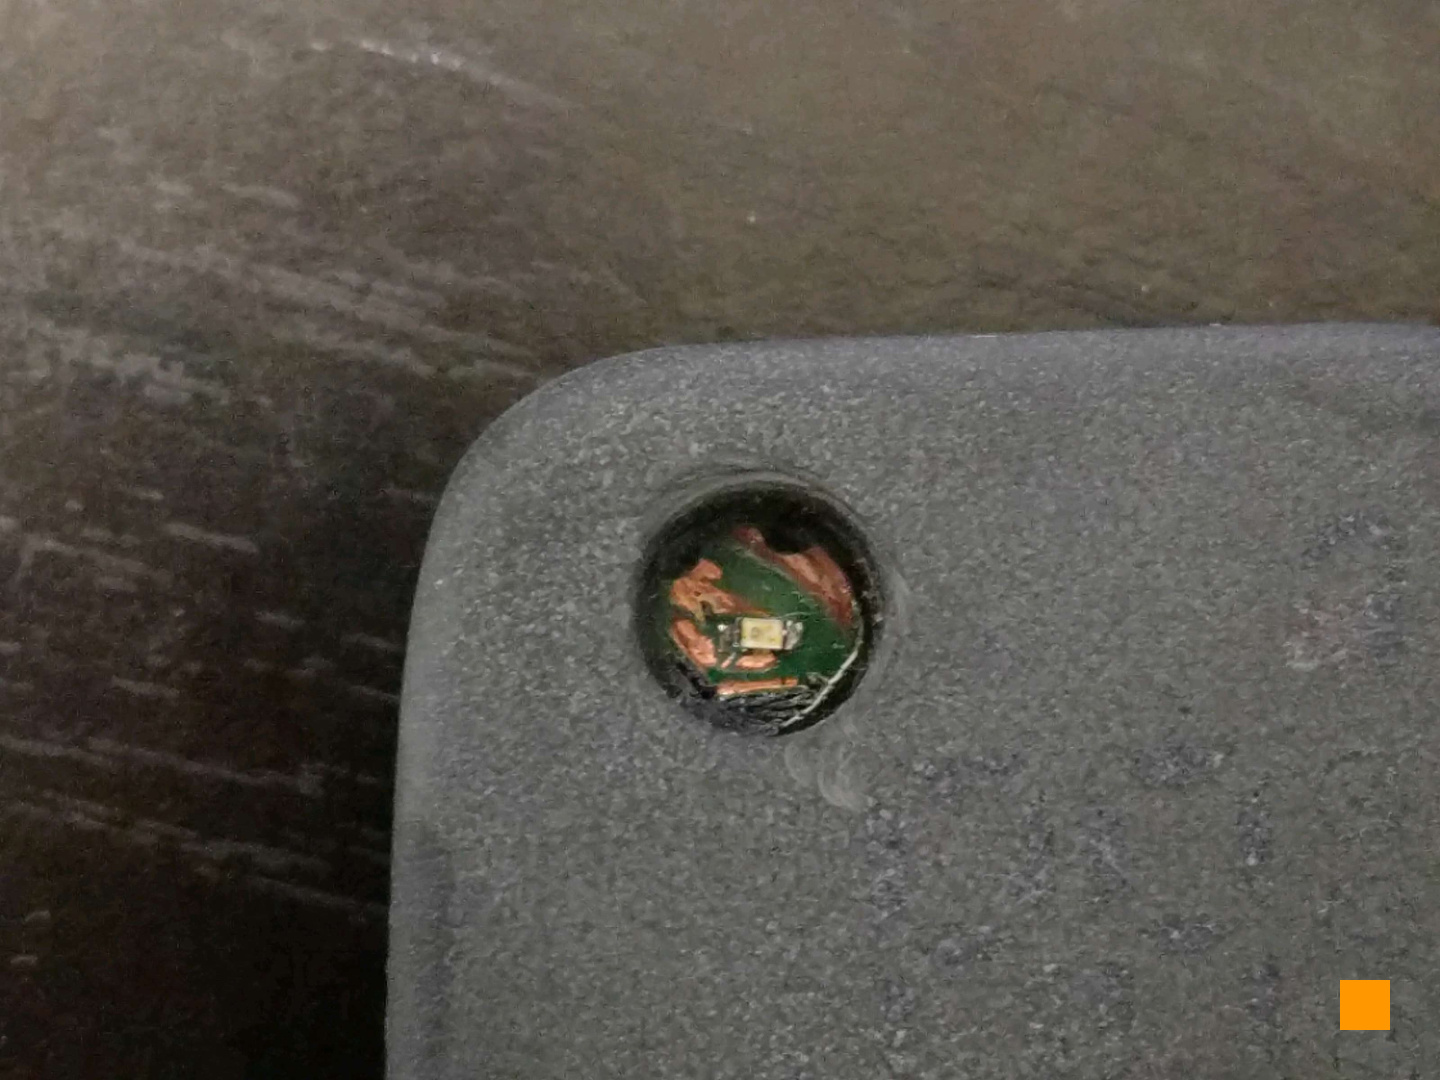
Picture 2: Drilled hole with replacement LED and after some cleaning. Yes, this is thirty minutes drilling for less than two and a half millimeters of epoxy. But the best part is that even with good cooling we blew up the LED directly under the drill head. The epoxy is not only really hard, its heat conductivity is really high as well. So anyone trying to get down to the PCB and tampering with the controllers or other circuitry is gonna have a hard time not blowing the whole thing up.
However, we were able to replace the destroyed LED and you can see the result in Picture 2. It is evident someone tampered with the device - yet we are able to use it for more testing.
Thank you for staying with us - and do not try this at home and without protective equipment. See you next week!
