Cryptoucan™ usage: First look
Written by Lída Hrnčířová on 2019-02-21
cryptoucanAs we are getting closer and closer to shipping first units of Cryptoucan™, we are also preparing series of videos which would guide our customers through the whole process of using the device itself and the use of it with specific operating systems and e-mail clients. Now we can proudly introduce you to the first video that will give you clear idea of what Cryptoucan™ looks like and what elements you can find on its outer body.
The whole video was made by animating the 3D model of Cryptoucan™ using open-source 3D modelling tool Blender[1]. This gave us the opportunity to show you the device in such way that you can see how exactly it is going to look in real life.
If you're here to just watch the video, click here. In case you can't watch it right now, feel free to keep reading this blog post as it contains short summary of the video's content.
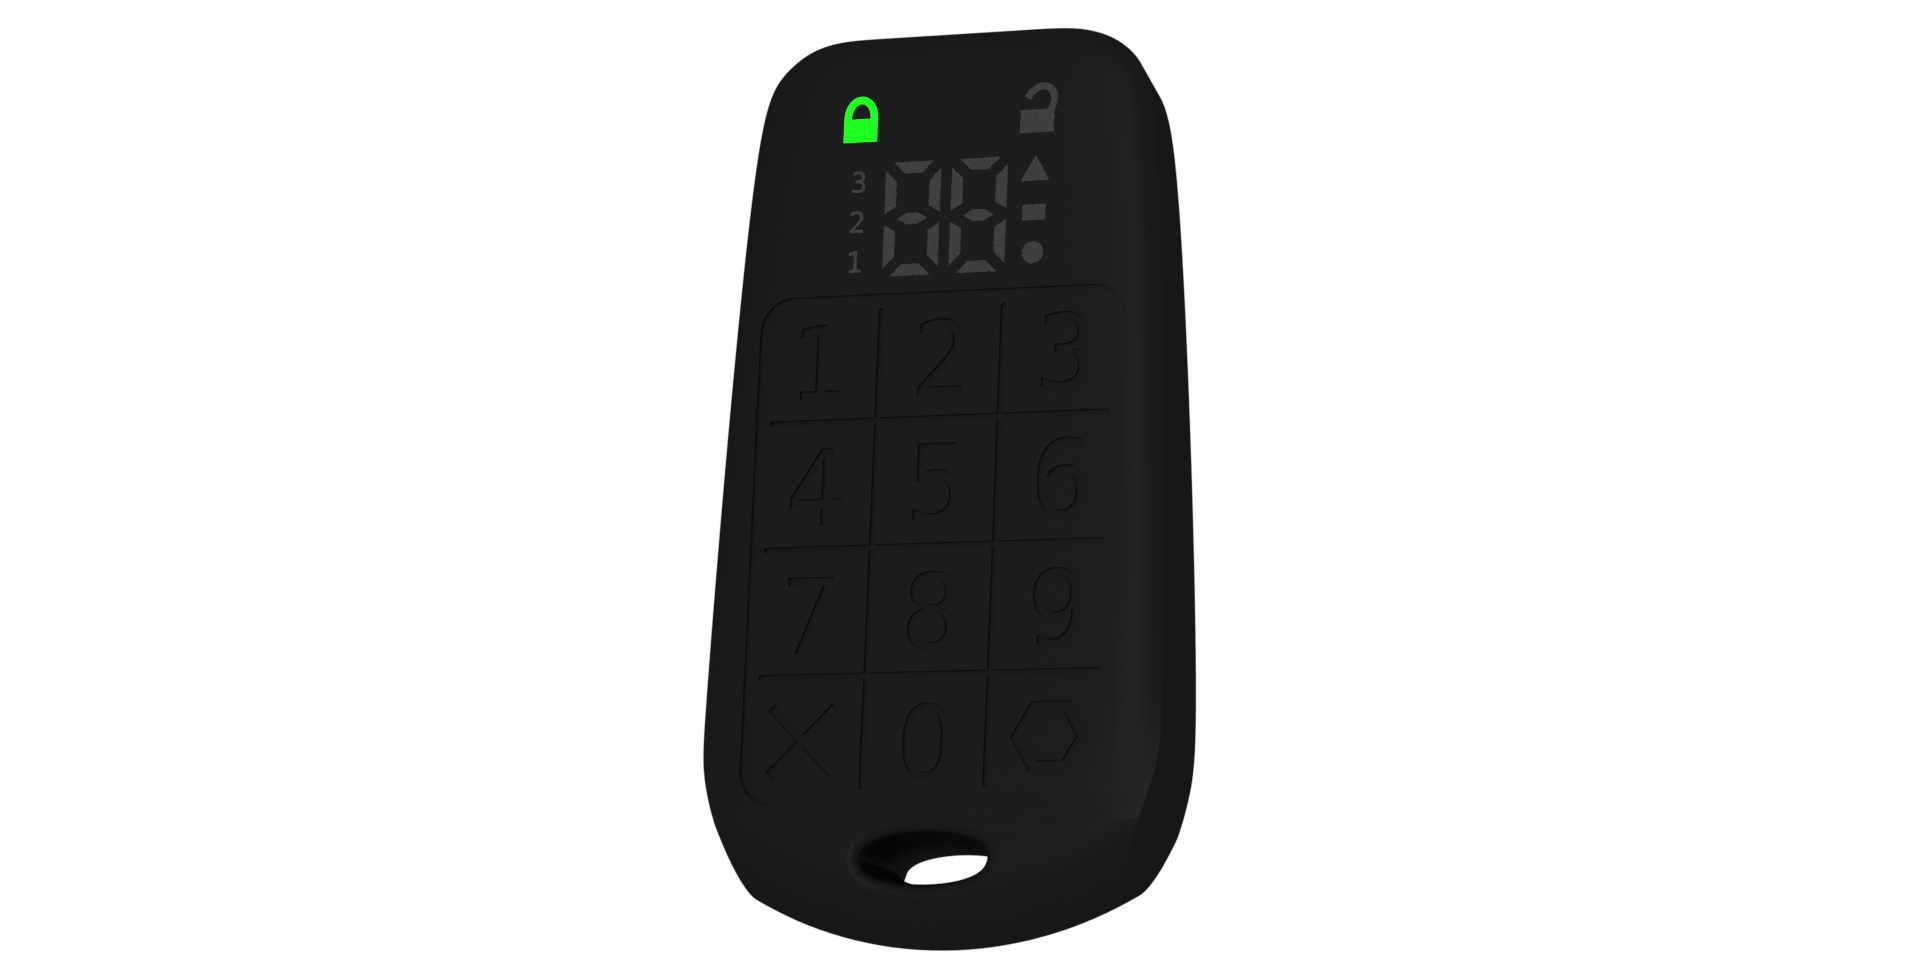
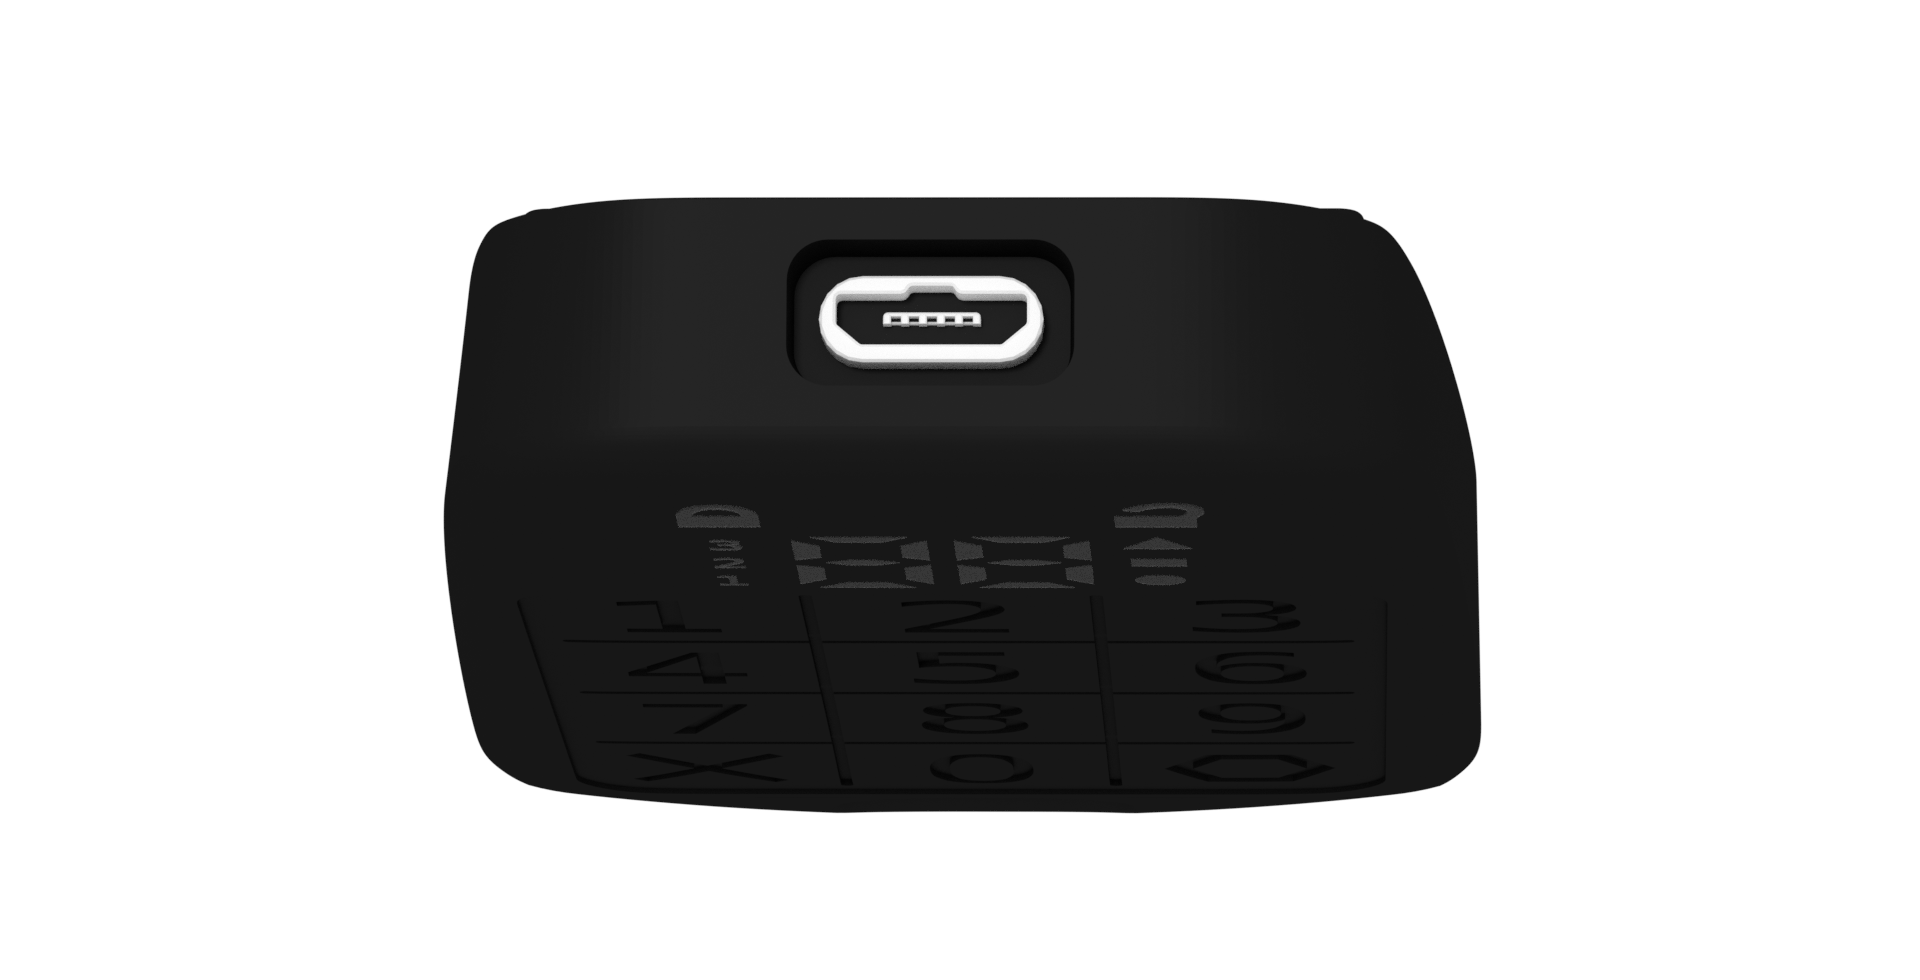
Picture 1: Cryptoucan™ When you look at the device you will notice lanyard hole which is there for keeping your device on a keychain or a keyring. On the opposite side, at the top of Cryptoucan™, you will find micro USB[2] port for connecting your device to a computer.
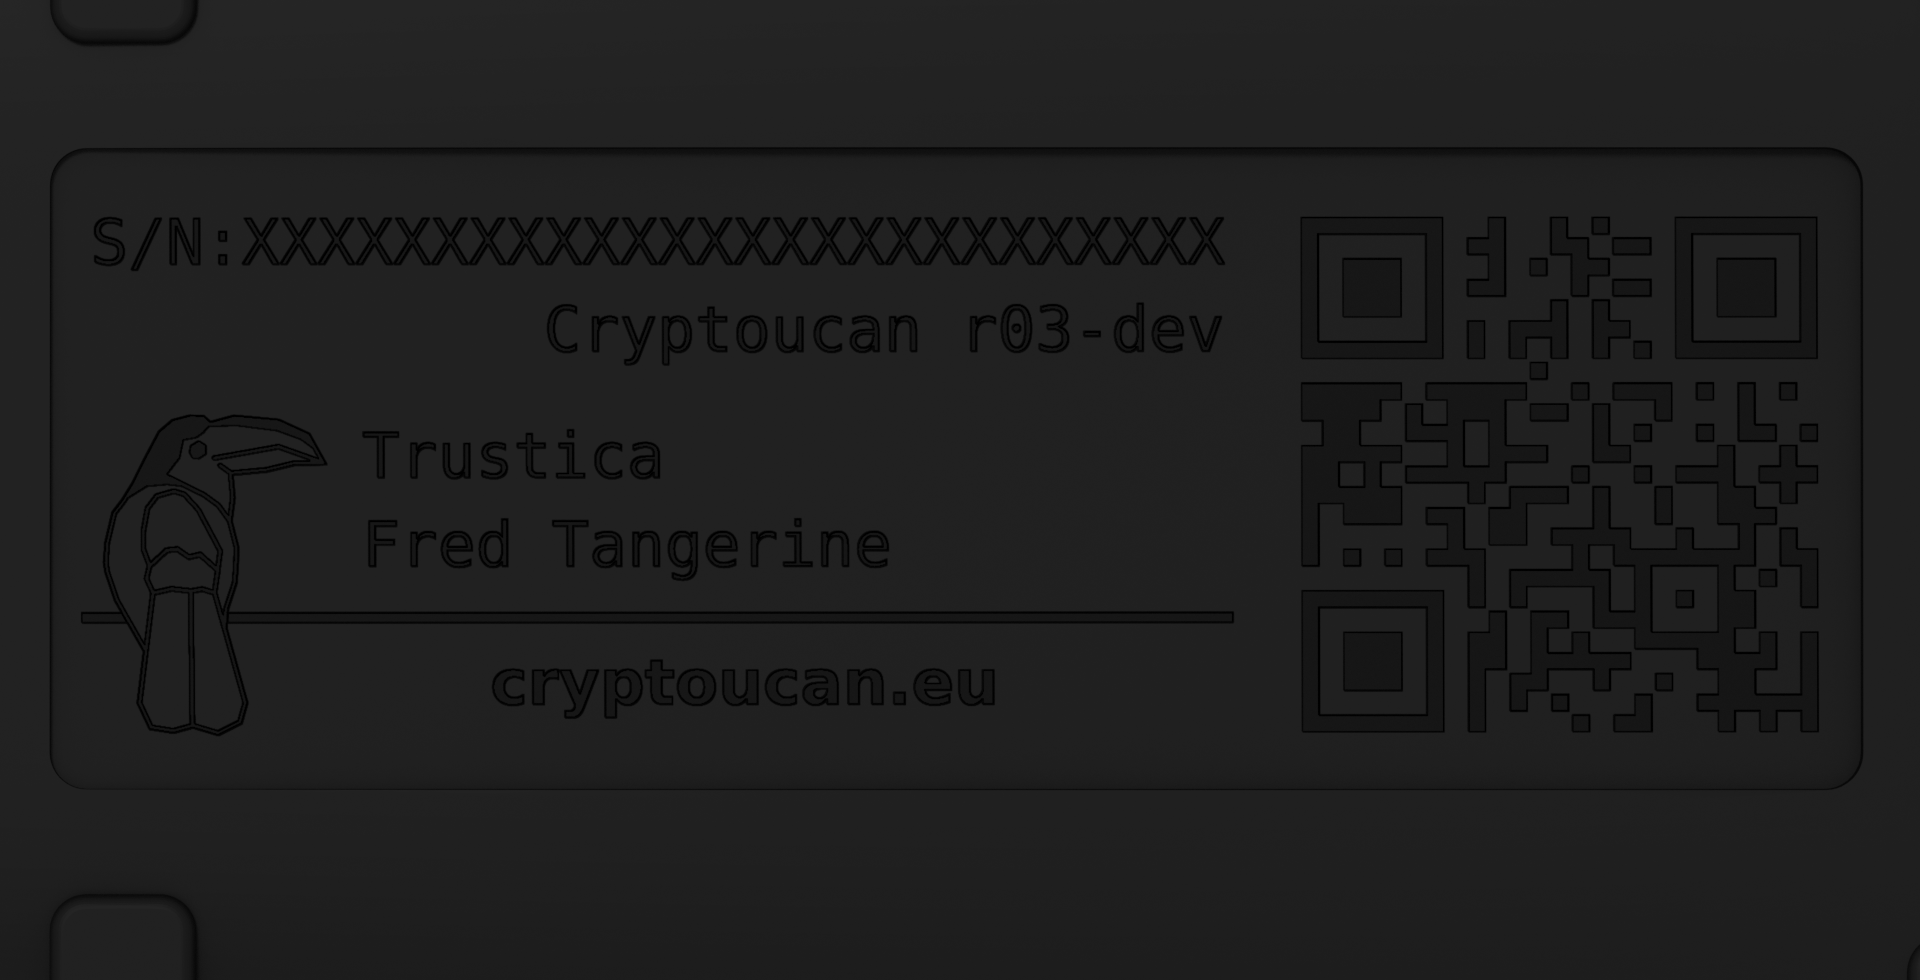
Picture 2: micro USB port There's a table of various information engraved[3] at the back of Cryptoucan™. First two lines hold product information such as serial number of your device and product version number. On top of that, the serial number is encoded in the QR code[4] on the right side of the table. You can quickly scan it hence you won't be bothered with rewriting the whole serial number if needed. Following two lines are optional and may contain customizable text[5]. We have chosen to put the name of our company and the name of our imaginary employee here. However, you can choose whether you want to engrave different type of information such as identification number or inventory number.
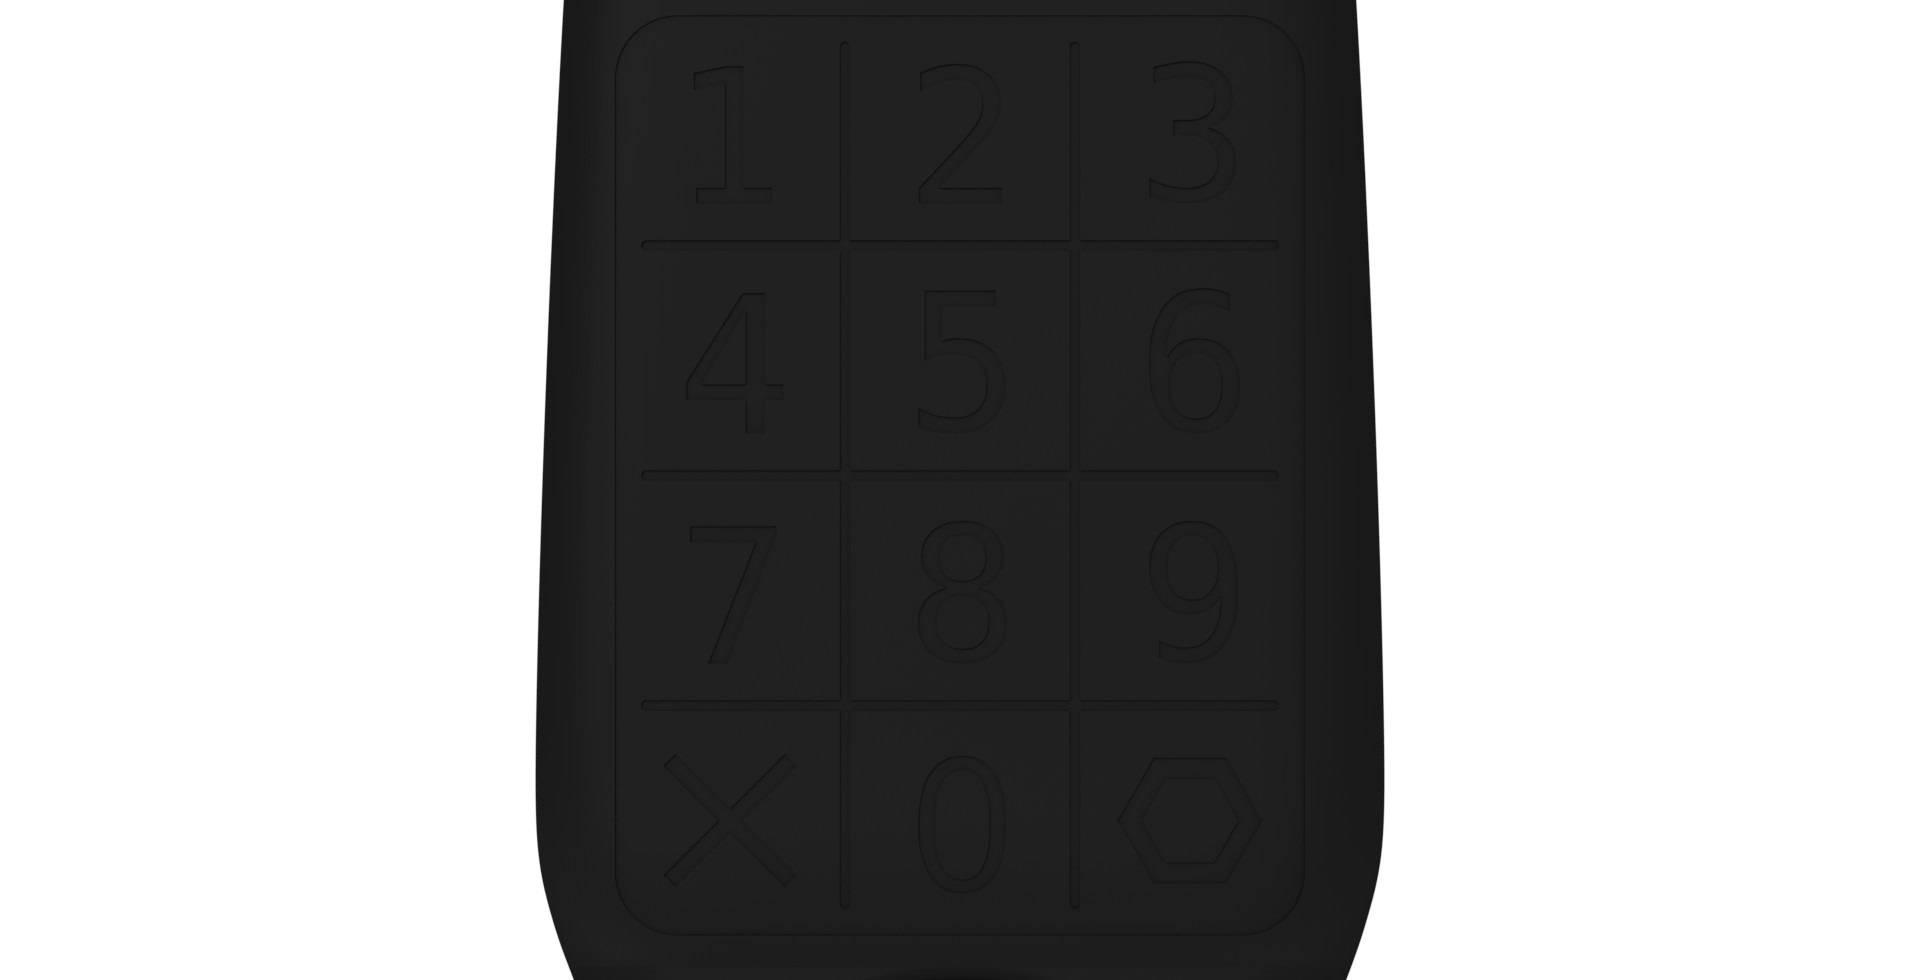
Picture 3: The back of the device with table of engraved information We can finally move to the front of the device. When it comes to the integrated keypad, it may not look like a touchscreen but it works that way. You basically operate it the same way you operate your smartphone, by lightly touching the keys. For cancelling current operation or clearing currently entered PIN digits you'll be using the X key at the bottom left corner of the keypad. The hexagon symbol at the bottom right corner is there to confirm the PIN you entered or to confirm current operation.
Picture 4: The keypad The display shows everything you need to know to use the device. Green closed lock at the top left side indicates the device is locked and your secret keys are encrypted and safe. On the other side, the orange open lock indicates that the device is unlocked and the secret material stored in Cryptoucan™ is now decrypted. You will see which PIN are you required to enter thanks to the numbers on the left side of the segmented display. You have limited attempts for entering your PIN. The number of remaining attempts is indicated on the right side. In the middle of this all you will find indicator of how many PIN digits you have already entered.
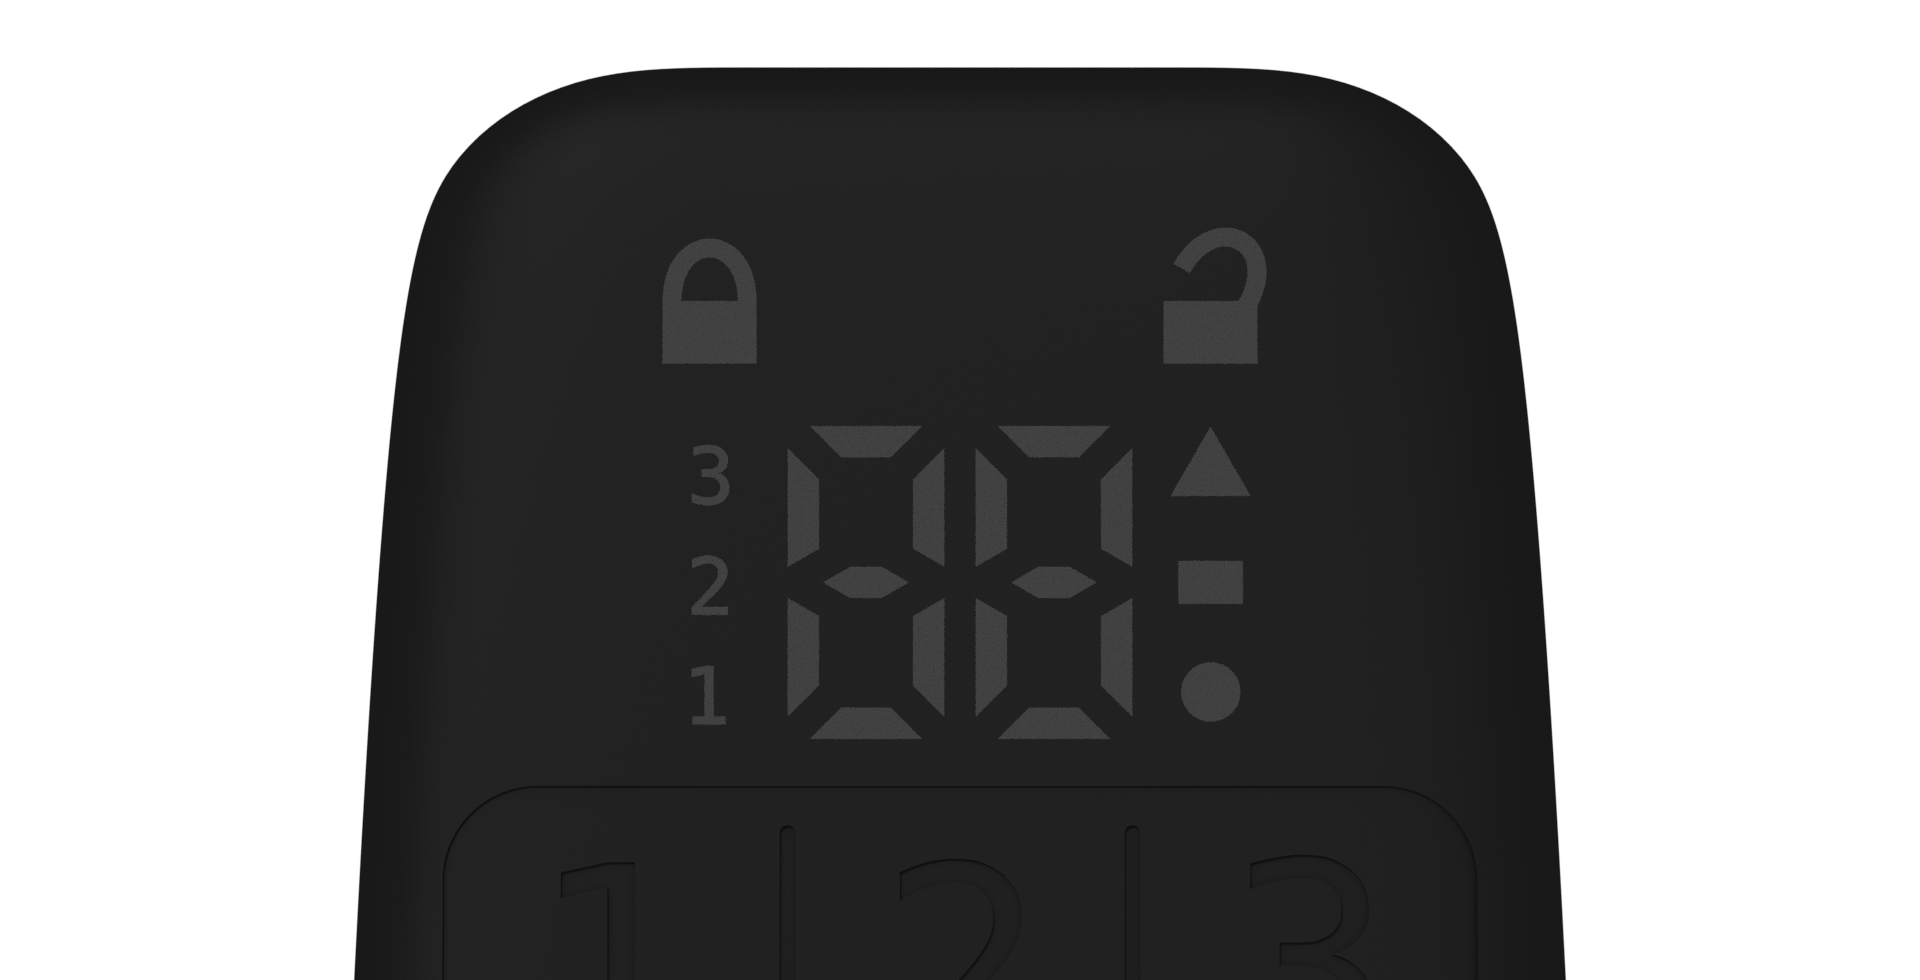
Picture 5: The display We highly recommend you to watch the video as it contains more detailed information about the outer body of Cryptoucan™.
Video 1: Cryptoucan™ usage: First look Thank you for reading, we will see you next week as usual!
References
- More info: https://www.blender.org/
- Wikipedia contributors. (2019, February 20). USB. In Wikipedia, The Free Encyclopedia. Retrieved 15:32, February 20, 2019, from https://en.wikipedia.org/w/index.php?title=USB&oldid=884240680
- https://trustica.cz/2018/11/15/cryptoucan-laser…raving-revisited/
- Wikipedia contributors. (2019, February 14). QR code. In Wikipedia, The Free Encyclopedia. Retrieved 15:33, February 20, 2019, from https://en.wikipedia.org/w/index.php?title=QR_code&oldid=883291311
- https://trustica.cz/2019/02/14/cryptoucan-engra…g-customizations/
