Step-by-step SSH authentication on Ubuntu
Written by Lída Hrnčířová on 2021-02-18
cryptoucanDuring the last few weeks, we shared tutorials aimed at Windows users regarding SSH authentication using Cryptoucan™. Don't worry, we haven't forgotten about you, Ubuntu users! In this week's blog post you'll find a step-by-step written guide that will help you log into a remote machine easily!
We've already shown you all the basic operations you can do easily thanks to Cryptoucan - encrypting, decrypting, signing. Not only for emails but also files themselves... And that's still not everything you can do. Now it's time for a bit more advanced operation - authentication.
SSH is a widely used remote access protocol. It allows you to log into your remote machine's console and work there as if it was your local work station. This is perfect for home offices or even casually working from a café. Honestly, we can see ourselves at a remote beach sipping from a drink in one hand and typing on a laptop with the other hand while listening to the calming sounds of the sea.
Ubuntu setup and login is extremely quick and easy! We've made it even easier since you can just follow our written guide with pictures!

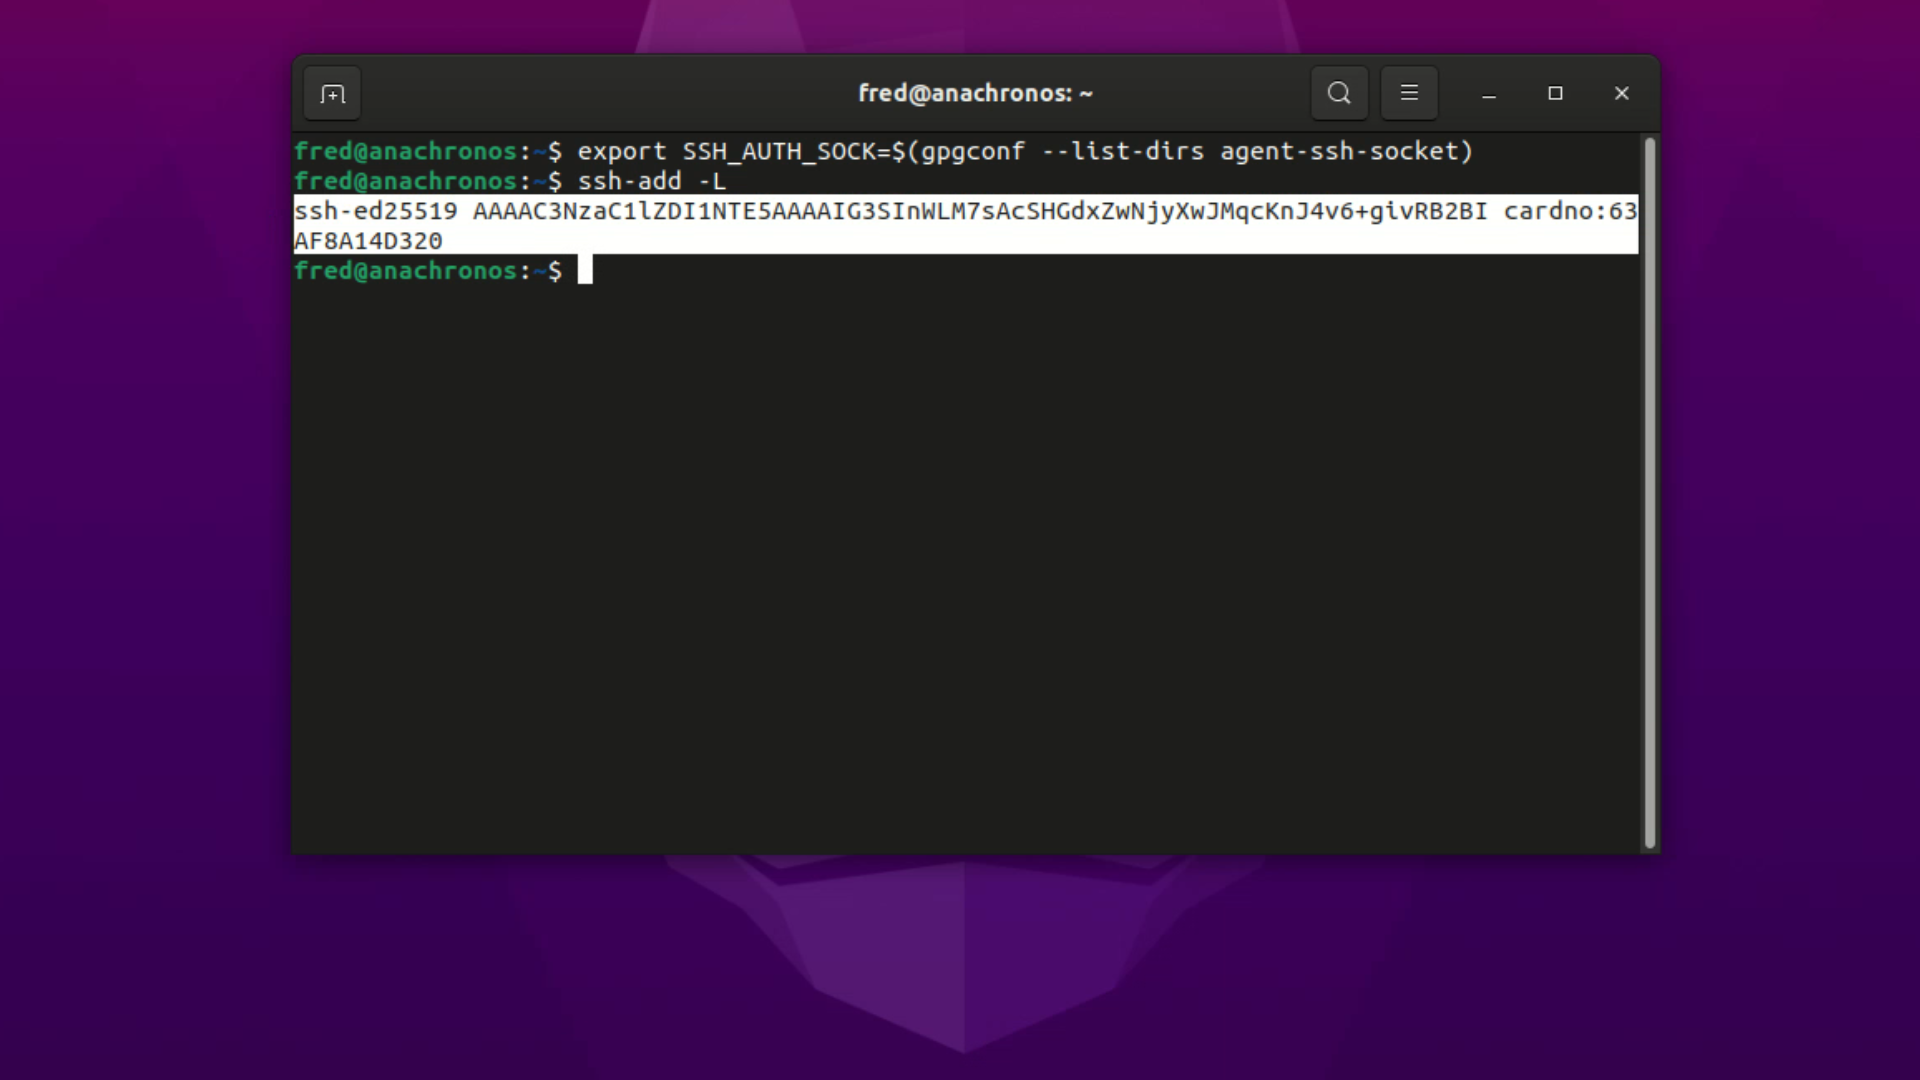
Picture 1: Newly generated public key for SSH We also have a trick up our sleeves -
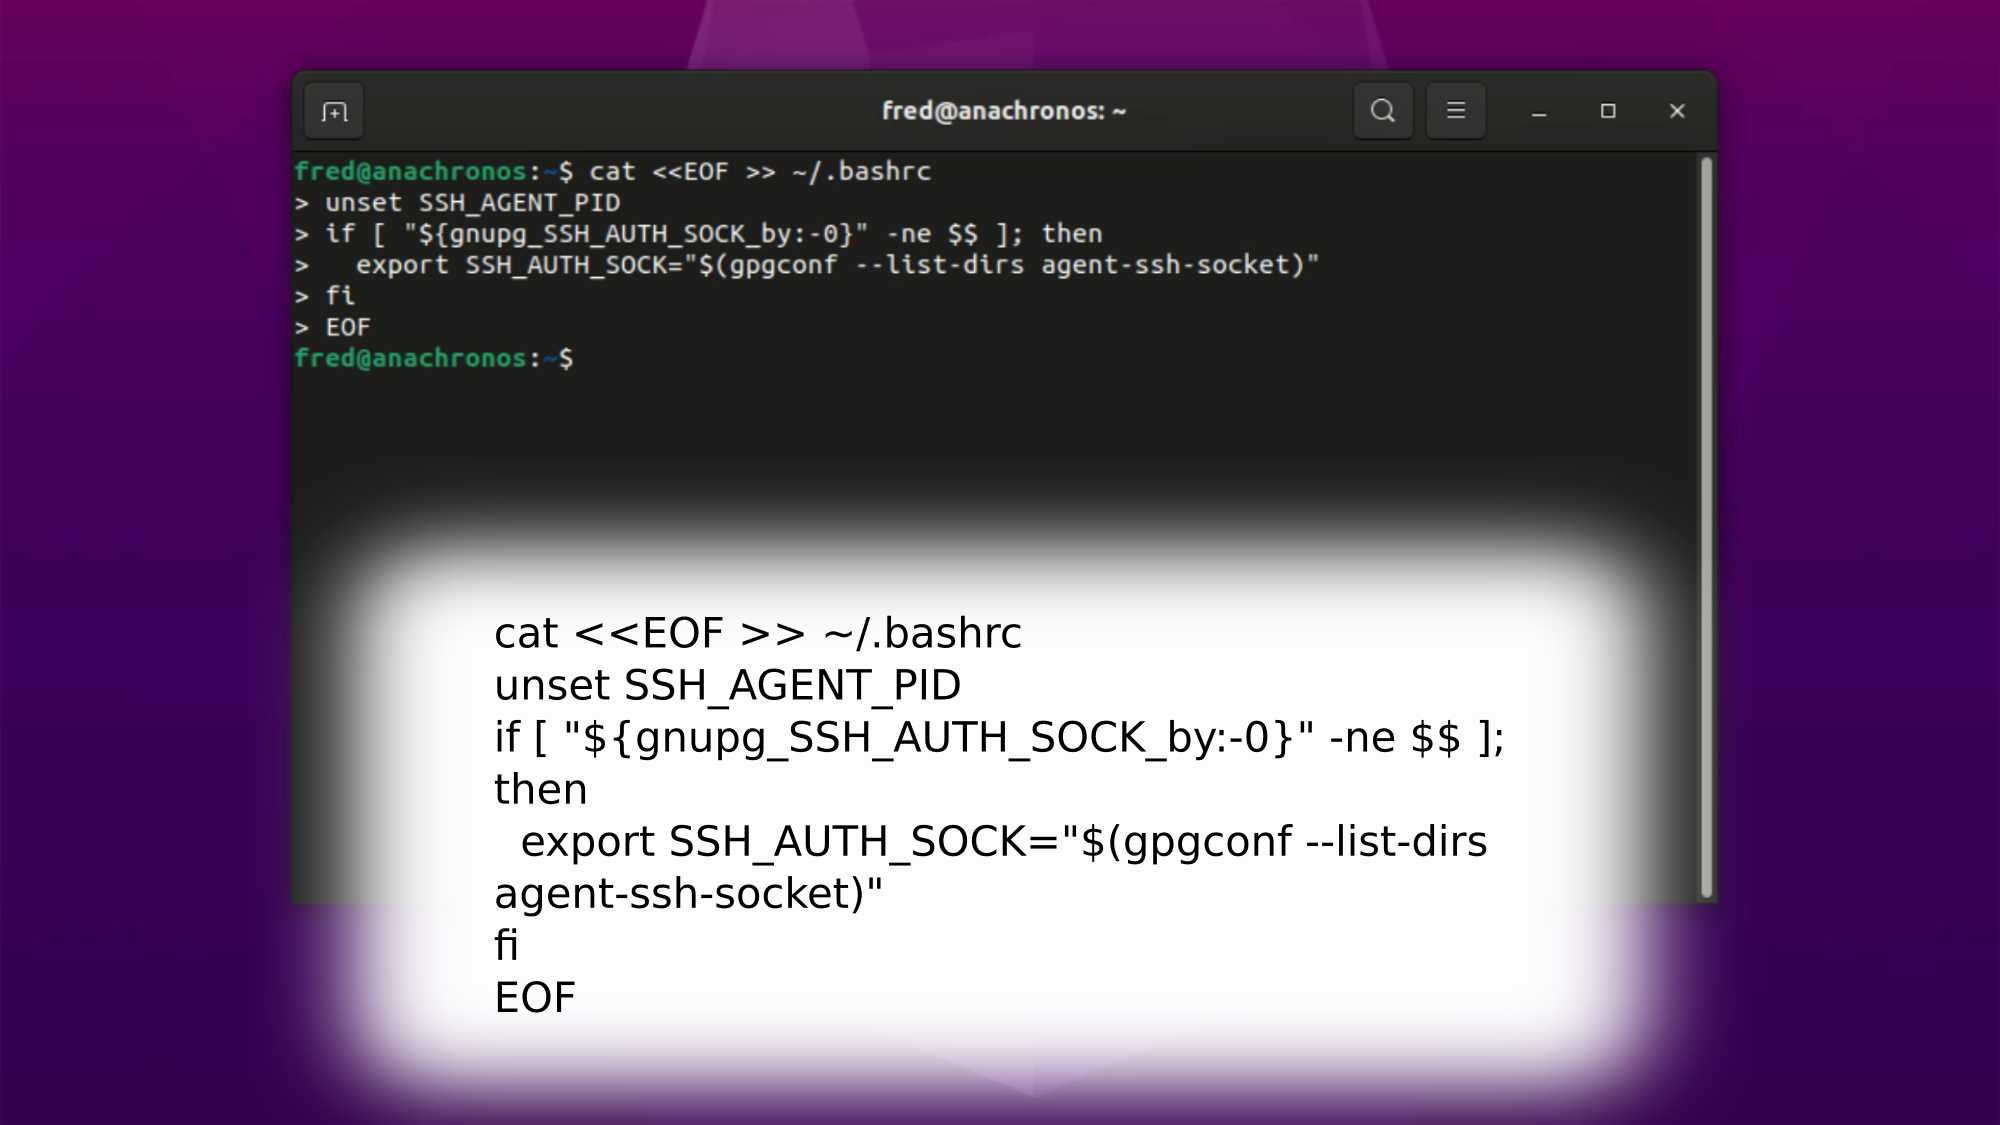
a script that will automatically set SSH_AUTH_SOCK environment
variable every time you log in. All child terminal sessions will inherit this
environment variable, so you won't need to export it again every time you open a new
console window. Meaning - you'll get right to the log in part.
Just run this:
cat <<EOF >> ~/.bashrc
unset SSH_AGENT_PID
if [ "${gnupg_SSH_AUTH_SOCK_by:-0}" -ne $$ ]; then
export SSH_AUTH_SOCK="$(gpgconf --list-dirs agent-ssh-socket)"
fi
EOF

Picture 2: Helpful script! And that's it! We hope you've found everything you need here! Thank you for reading.
